Control knob holes drilled out.

Starting to sand the radius on the fretboard. I had to stabilize a couple small knots with super glue in this process so they did not crumble and so they remained even with the face of the fretboard.

Still a little work to be done. The radius is not quite perfect yet (as you can see by the gauge) and one side is a little high still.

Fretboard wiped down with naptha to show how it will look finished.

Input jack recess drilled out with a forstner bit.

Ouch. When drilling the actual hole for the input jack my drill bit started wandering. It ended up totally off center. I had to glue in a dowel and redrill later. I redrilled with a spade bit to prevent wandering again. This step would have been much easier with a full sized drill press. As it was I had to do it with a hand drill.

Laying out the control cavity, battery box, and control cavity cover templates on MDF.
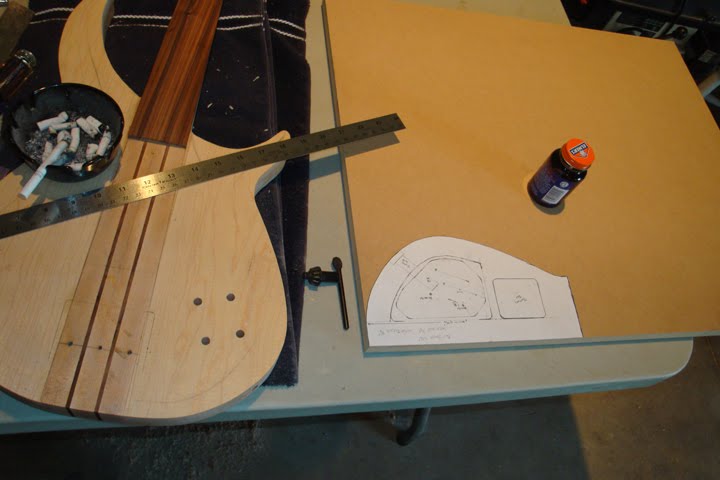
Templates completed.

Bridge and tuners mounted to check string height and determine how much I have to recess the bridge. Not too bad, looks like I only have to recess by 1/4".

Control cavity and battery box routed out. Still need to route out the shelf for the control cavity cover.

Next step is to create templates for the pickups and the bridge recess and then route them out. The face has been routed to start a carve but I am not going to show that until it is a little farther along.

No comments:
Post a Comment